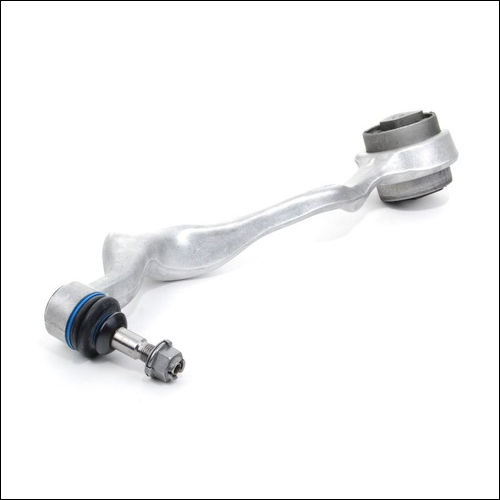
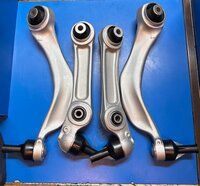
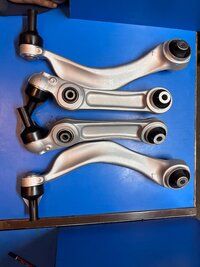
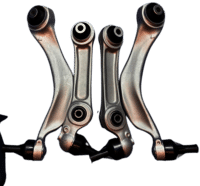
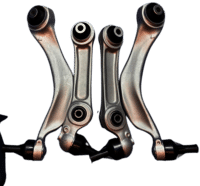
BMW E90 Lower Control Arm
Product Details:
- Working Life Long Years
- Color Sliver
- Weight 10 Kilograms (kg)
- For Use In Automobile Industry
- Warranty Working
- Model No 789794456
- Material Iron
- Click to View more
BMW E90 Lower Control Arm Price And Quantity
- 1 Set
BMW E90 Lower Control Arm Product Specifications
- 789794456
- 5*5*5 Foot (ft)
- BMW E90 Lower Control Arm
- Iron
- Long Years
- Sliver
- 10 Kilograms (kg)
- Automobile Industry
- Working
BMW E90 Lower Control Arm Trade Information
- 1000 Set Per Day
- 1 Days
- Cardboard box and cover with sack
- All India
Product Description
-
The lower control arm in a BMW E90 (the fifth-generation 3 Series, produced from 2005 to 2013) is a crucial component of the front suspension system. It connects the wheel hub to the chassis and helps control the up-and-down movement of the wheels, contributing to the vehicle's handling, stability, and ride comfort.
Functions of the Lower Control Arm
- Stabilizes the Wheel: Keeps the wheel aligned with the car's frame.
- Supports Suspension Movement: Allows the wheel to move up and down smoothly over road irregularities.
- Maintains Alignment: Ensures the wheel remains in the correct position relative to the body of the vehicle, which is essential for proper tire wear and handling.
Key Components of the Lower Control Arm Assembly
- Control Arm: The main arm that provides the structural link between the wheel hub and the vehicle's frame.
- Bushings: Rubber or polyurethane components that cushion the control arm, reducing vibration and allowing for smooth pivoting.
- Ball Joints: Allow the control arm to move with the suspension while maintaining a secure connection to the wheel hub.
Common Issues with Lower Control Arms
- Worn Bushings: Over time, bushings can degrade, leading to increased vibration, noise, and a rougher ride.
- Failed Ball Joints: Worn ball joints can cause clunking noises, poor handling, and uneven tire wear.
- Bent or Damaged Control Arm: Hitting a pothole or curb can bend the control arm, leading to alignment issues and unsafe handling.
Symptoms of a Failing Lower Control Arm
- Clunking Noise: Often heard when going over bumps or making turns.
- Vibration: Felt through the steering wheel or the entire vehicle.
- Uneven Tire Wear: Caused by misalignment due to control arm issues.
- Poor Handling: Vehicle may feel unstable or pull to one side.
- Steering Wheel Misalignment: Steering wheel may not be centered when driving straight.
Replacement and Repair
Tools and Materials Needed:
- Jack and jack stands
- Socket set and wrenches
- Torque wrench
- Hammer or ball joint separator
- New lower control arm assembly (including bushings and ball joints if not pre-installed)
Procedure:
-
Safety First:
- Park the vehicle on a level surface and engage the parking brake.
- Lift the front of the car using a jack and secure it on jack stands.
- Remove the front wheels to access the suspension components.
-
Remove the Old Control Arm:
- Locate the lower control arm and identify its attachment points to the chassis and the wheel hub.
- Use a wrench or socket to remove the bolts securing the control arm to the chassis.
- Disconnect the ball joint from the wheel hub using a ball joint separator or a hammer to gently tap it out.
- Carefully remove the old control arm.
-
Install the New Control Arm:
- Position the new control arm in place.
- Attach the control arm to the chassis and loosely fasten the bolts.
- Connect the ball joint to the wheel hub and secure it.
- Tighten all bolts to the manufacturer's specified torque settings using a torque wrench.
-
Reassemble and Test:
- Reinstall the front wheels.
- Lower the vehicle from the jack stands.
- Test drive the vehicle to ensure proper handling and check for any unusual noises.
Alignment Check
After replacing the lower control arm, it is crucial to have the vehicle's alignment checked and adjusted by a professional. Misalignment can lead to uneven tire wear and poor handling.
Conclusion
Replacing the lower control arm in a BMW E90 is a critical maintenance task that ensures the vehicle's handling, stability, and safety. Whether due to worn bushings, failed ball joints, or damage from road hazards, addressing control arm issues promptly can prevent further suspension problems and maintain the vehicle's performance. If you are not comfortable performing the replacement yourself, it is advisable to seek professional assistance to ensure the job is done correctly.unique auto spares,

